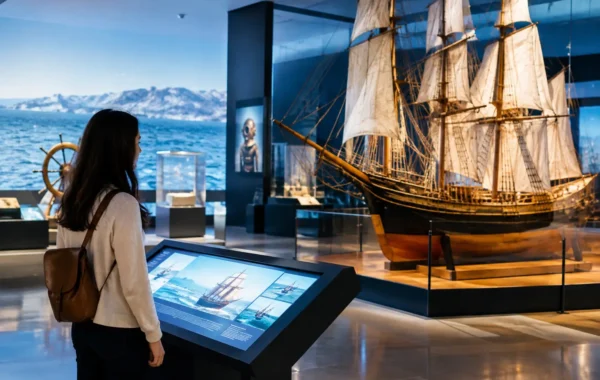


A photograph of a centuries-old bowl, compass or porcelain figure can preserve a powerful memory of your visit. Yet learning how to photograph museum artefacts respectfully begins with recognising that the object before you is not merely a beautiful subject. It is a survivor – often fragile, irreplaceable and entrusted to the museum for future generations.
The most memorable museum photographs do more than record what was in a display case. They capture material, craftsmanship and context without disrupting the quiet conditions that help protect a collection. A considered approach lets you leave with meaningful images while allowing every other visitor the same opportunity to look closely.
Begin with the museum’s photography policy
Photography rules are part of collection care, not an obstacle to enjoyment. Before raising a camera or mobile phone, look for gallery signage and ask a member of staff if anything is unclear. Some museums welcome personal photography throughout their permanent collections; others restrict it in particular rooms, around temporary loans, or beside objects whose lenders or cultural custodians have set conditions.
A no-photography symbol should always be taken at face value. Do not assume that taking an image quickly, from a distance or without flash changes the rule. The restriction may relate to copyright, visitor privacy, conservation requirements or the wishes of the community connected to an object.
This matters especially in exhibitions containing sacred, ceremonial or funerary material. An artefact can be historically fascinating and visually striking while still carrying living cultural meaning. When photography is allowed, approach these objects with the same restraint you would bring to a place of worship or remembrance.
Protect the artefact before pursuing the image
Museum lighting is carefully controlled. Low light can reduce the cumulative damage caused by exposure, particularly to textiles, pigments, paper and organic materials. It may make photography more challenging, but it is part of the balance that keeps collections available for the long term.
For that reason, never use flash unless a museum explicitly permits it. Even where a single flash may not appear consequential, rules are designed for thousands of visitors, not one photograph. Switch off flash before entering the gallery rather than relying on an automatic setting, which may activate in dim conditions.
Keep a comfortable distance from cases, plinths and open displays. Do not lean on a vitrine to steady your mobile phone, rest a bag against a barrier, or reach over a rope for a closer angle. A slight knock can cause harm, and the oils on hands are damaging to many historic surfaces. If an artefact is displayed openly, resist every temptation to touch it unless a clear invitation says otherwise.
Large tripods, monopods, selfie sticks and additional lights usually require permission, if they are allowed at all. They can obstruct walkways, create trip hazards and change the visitor experience. A handheld camera, used patiently, is almost always the more considerate choice.
Photograph the story, not only the object
The strongest museum images often begin with a moment of looking. Read the label first. Notice the date, place of origin, material and purpose of the piece. Consider what the maker achieved, who used it, and how it arrived in the museum. That knowledge will shape a more thoughtful photograph than a hurried close-up ever could.
For maritime archaeological collections, a ceramic vessel is rarely only a vessel. Its glaze, form and decoration may speak of trade routes, dining rituals, technical skill and the long journey from a shipwreck to conservation. At Straits & Oriental Museum, shipwreck ceramics invite this kind of closer reading: porcelain can be admired for its surface beauty while also being understood as evidence of Asia’s connected maritime past.
Try taking one wider frame that includes the display setting and one closer image that reveals a meaningful detail, such as painted motifs, a maker’s mark or the texture of a glaze. If labels may be photographed, capture the object information too. This makes it easier to describe the piece accurately when sharing your images later.
Avoid treating every artefact as a backdrop. Posing too closely, blocking a case for several minutes or turning a gallery into a photo set can diminish the experience for others. A photograph should support the encounter with history, not replace it.
Work with low light and reflective glass
Museum photography rewards patience more than expensive equipment. If flash is off, hold your camera with both hands, keep your elbows close to your body and take a slow breath before pressing the shutter. On a mobile phone, tap the screen to focus on the object, then lower exposure slightly if bright lights are washing out a pale ceramic surface.
Reflections are often the central challenge. Move gently to one side rather than pressing towards the glass, and look for an angle where overhead lights and your own reflection disappear. Wearing darker clothing can also reduce reflected glare. Never place fabric, hands or any object against the case to block light.
For cameras with manual controls, a wider aperture and a moderately higher ISO can help in dim galleries. The trade-off is a shallower depth of field or more image noise. That is entirely acceptable. A slightly grainy photograph that respects the gallery is preferable to a technically perfect image made by breaking the rules.
If the result remains blurred, pause. Sometimes the best choice is to put the camera away and spend time with the artefact. Museums often provide postcards, catalogues or approved images for visitors who want a detailed visual record, while your own photograph can simply preserve the atmosphere of being there.
Share with accuracy and care
Photography continues after the visit. When posting an artefact on social media, name the museum where possible and use the information on the label rather than guessing at an object’s age, origin or function. A caption such as “ancient Chinese vase” may be easy, but it can erase the specificity that makes an artefact meaningful.
Be particularly careful with dramatic claims. Shipwreck discoveries, religious objects and antique ceramics attract stories, but a compelling caption should not turn uncertainty into fact. If an interpretation is provisional, or an object is described as possibly belonging to a period or region, retain that nuance.
It is also courteous to consider other visitors in your frame. Avoid posting clear images of strangers, especially children, without consent. If a person appears incidentally in a wide gallery shot, crop or choose another image where practical. The museum is a shared cultural space, not a private studio.
Respect the rhythm of the gallery
A respectful photographer pays attention to the room as much as to the artefact. Wait your turn at popular cases. Take a few purposeful shots rather than dozens from the same position. Lower screen brightness where possible, mute camera sounds and step aside once you have your image.
This small etiquette is especially valuable for families, guided groups and visitors who may need extra time to view labels or move through a space. It also protects the sense of calm that allows a museum gallery to feel distinct from the busy world outside.
There is no need to photograph everything. Choose the piece that genuinely stays with you – perhaps the cobalt blue line on a porcelain dish, the wear on a trader’s tool, or a fragment whose journey across sea and centuries is difficult to imagine. Look carefully, follow the museum’s guidance and let your image carry a little of that attention with it.